|
|
|
![]()
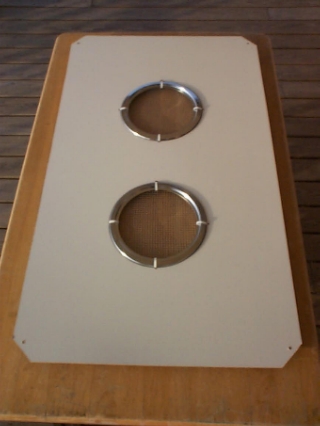
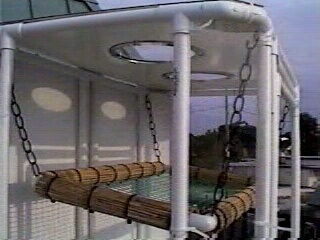
Building the Mini Jungle Gym Ceiling
The ceiling isn't so hard to make - and it looks and works great!
At Home Depot, in the
paneling department, are 4 x 8 sheets
of melamine about 1/8" thick. Some of this 'Tile Board' is plain white,
and some of the panels have designs on them. Choose the style that you like
best.
Have Home Depot cut a rectangle that measures [R].
Cut off the four corners to match the frame shape.
Tip: cut from the shiny side and then sand the edge smooth.
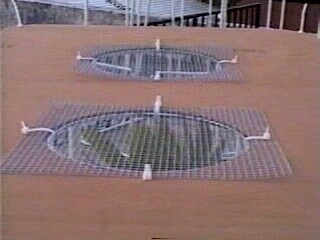
Now it's time to lay out the chrome trim rings...
I like to use two chrome
rings spaced [S] in from three of the edges.
Make sure that you leave room for a UVb light fixture toward the front.
Take the two trim rings
and lay them out on the shiny side.
Use a marker to trace the inside circle of each trim ring.
While your ring is still in place, mark North South East and West just outside
the ring --
which will be where you drill holes for the cable ties that hold the rings in
place.
Drill a starter hole just
outside the circle trace and use a jig saw
to cut a circle 1/2" outside of the traced circle --
that's about halfway between the circle trace and the hole marks.
The circle cut doesn't have to be a perfect circle --
because it's going to be hidden by the trim rings.
Use a drill bit that is
just slightly larger than your cable-ties to drill four holes,
positioning the holes just outside of the edge of the trim ring: N S E &
West.
Okay, now flip the ceiling over and cut a strip of uncoated wire cloth a little oversized [T].
Or you can cover the holes individually, like I did here:
To get the chrome ring
in place: slide the ring underneath, lining it up so that you can see one of
the four holes.
Poke the cable tie down through the screen and back up through the hole, and
tighten.
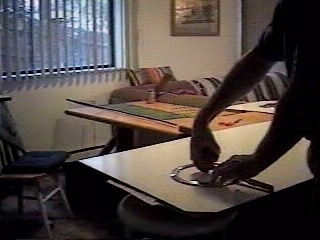
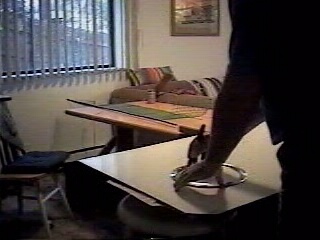
Tip: hang the panel and hole half way over the edge of the table to hold the
ring in place while you tie it in.
The objective is to leave
the cable tie 'squares' on top -- to help keep the dome lights in place.
In fact, when you clip the ends of the cable ties, leave a little extra sticking
up as shown.
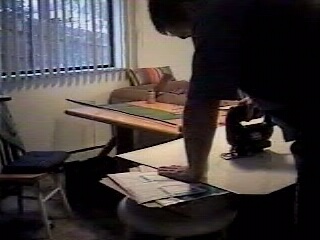
Okay, now flip the ceiling
back over and drill a few holes 1/2" in from the outside edge
to allow you to cable tie the ceiling to the cage.
I'd suggest putting the ceiling on top of the cage and marking for the holes
first.
I like to place the holes in the corners and several next to the T connectors.
.....
Now we've done the
frame, the door, and the
ceiling, but we still have
to do the back panels, the
windows, and the hanging shelf!
Use Paypal to get the measurements now.
Introduction | The Plans | The Cages | Order Plans | Q&A
Copyright 2001 2013 Lizardcages.com
All rights reserved.